 Recipe details
Desserts
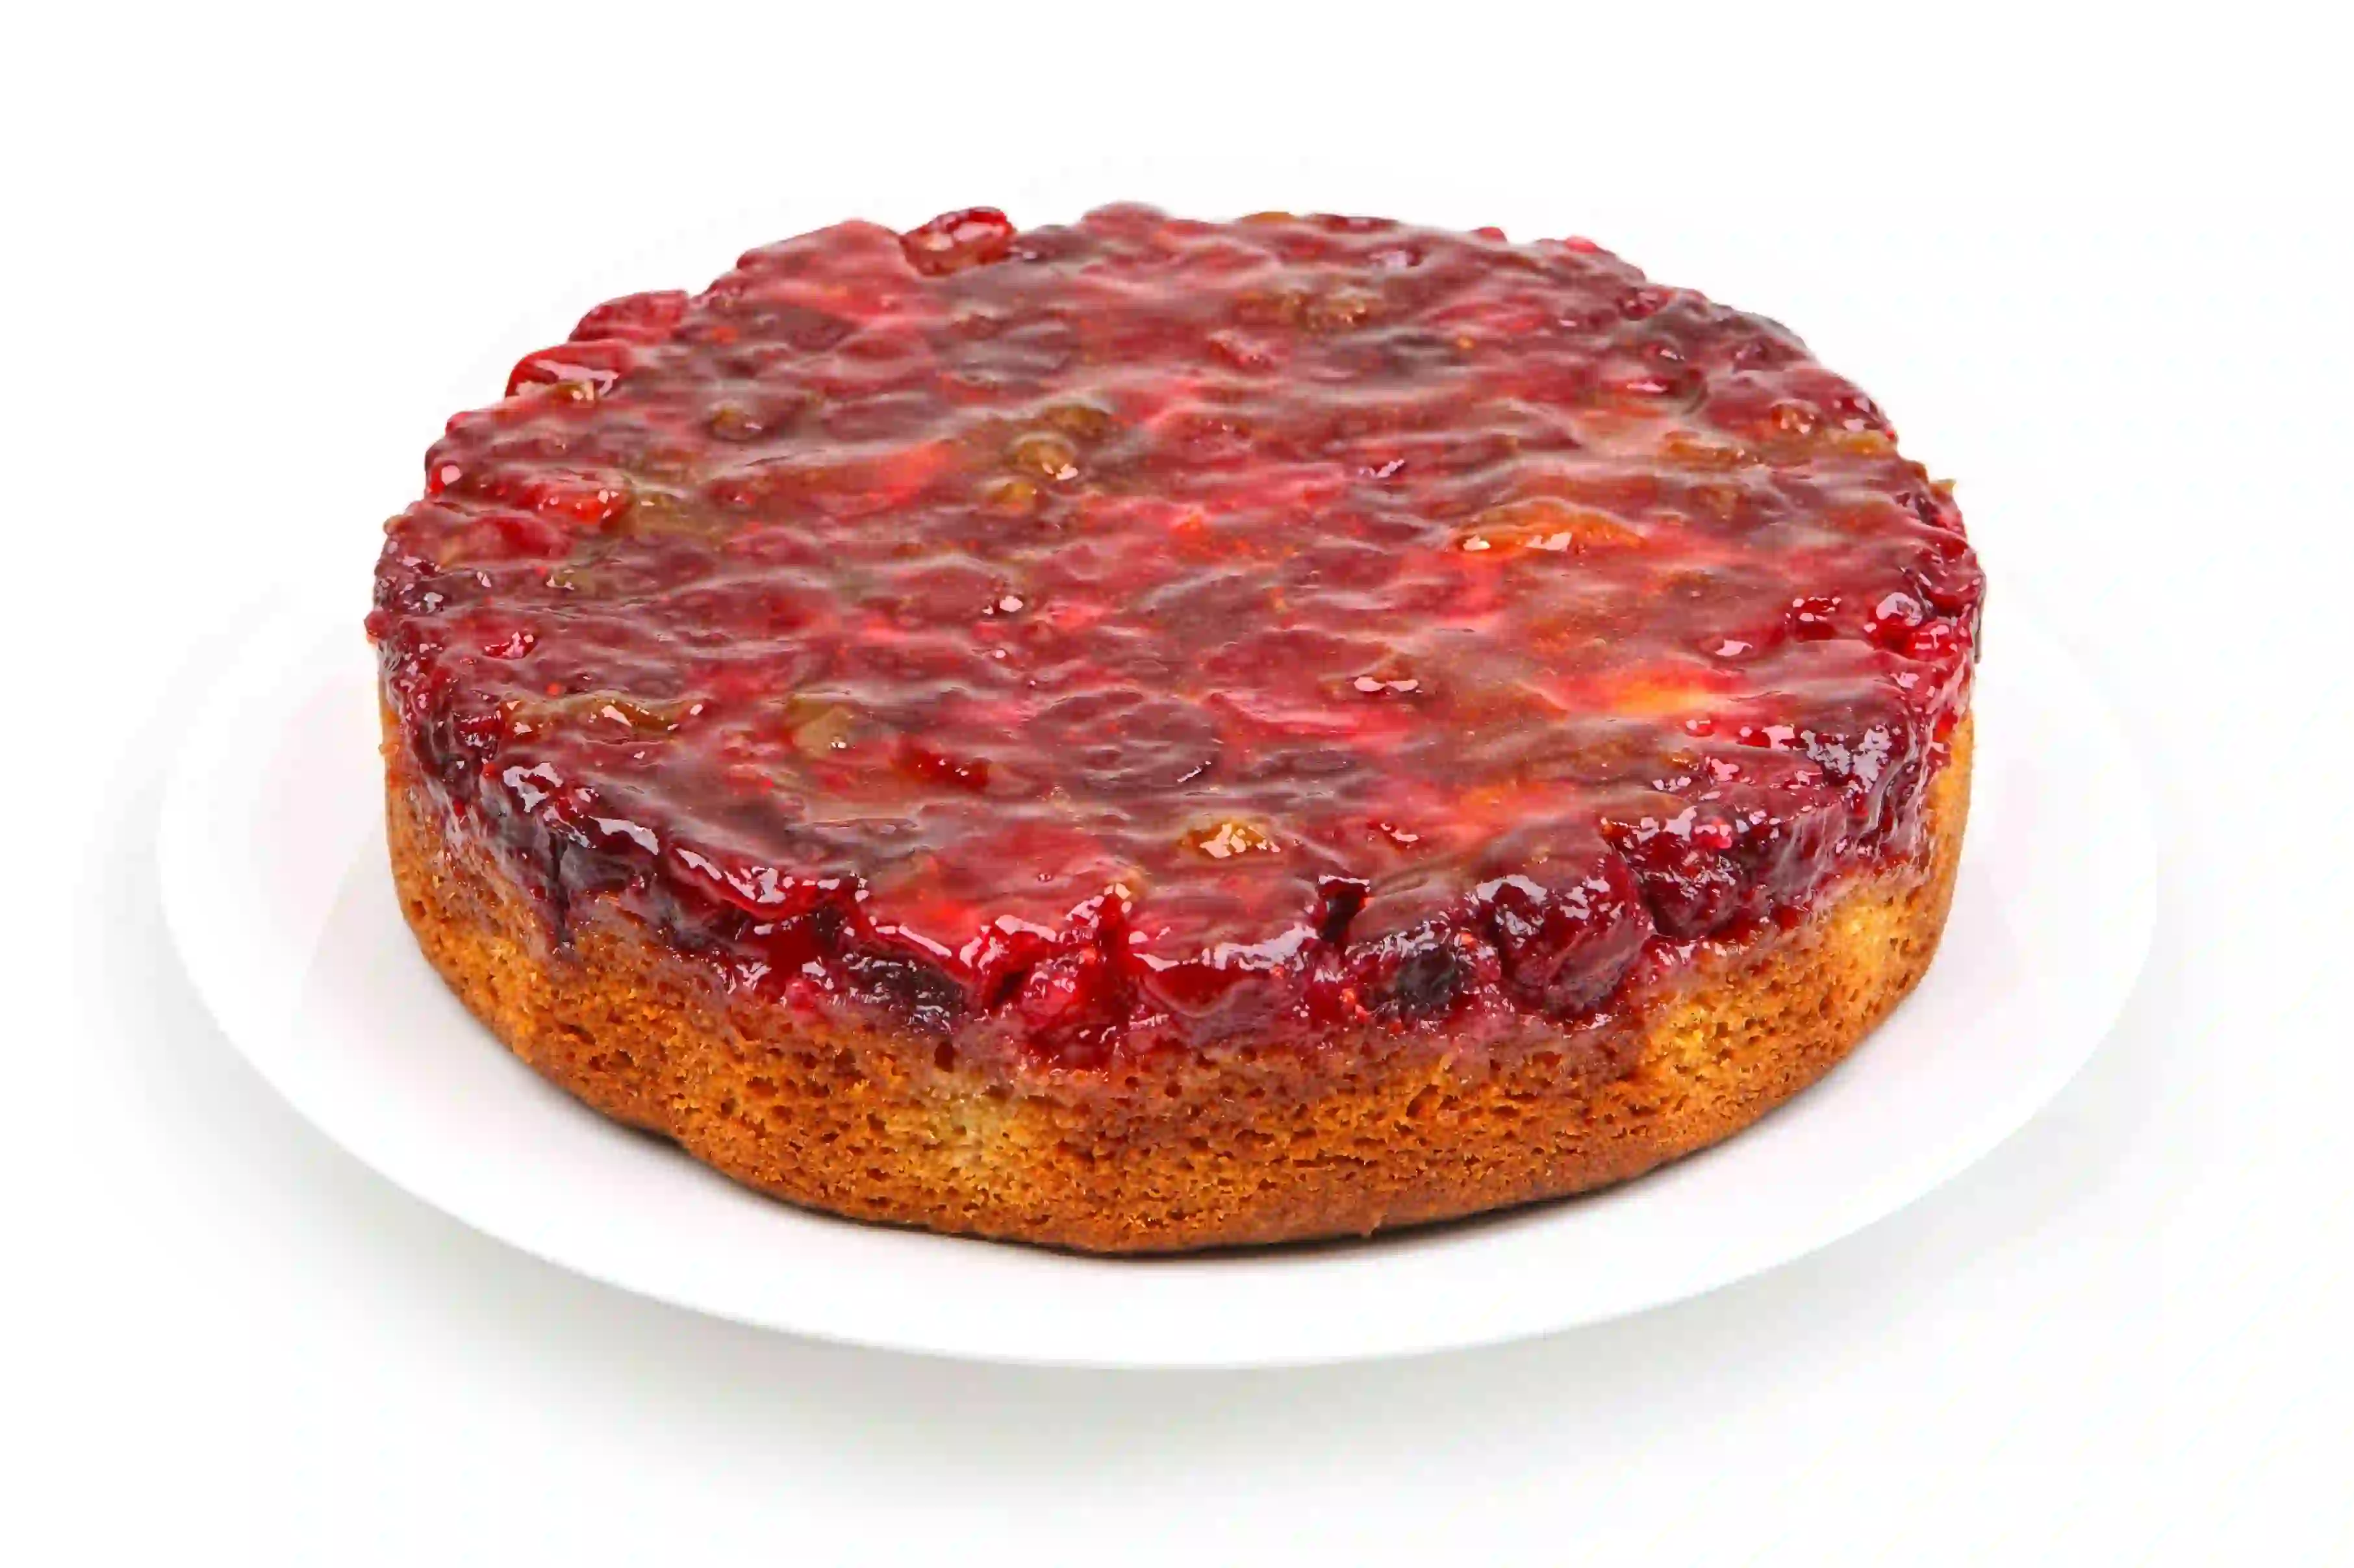
Cranberry Upside-Down Cake
1h
8 servings
This stunning cake features a layer of tart, juicy cranberries topped with a tender, buttery vanilla cake. It's a perfect dessert for fall and winter, especially during the holiday season.
Nutrition Facts
Disclaimer: The nutritional information provided is estimated and may vary based on portion size and preparation.
Facts
Quantity
Fiber
Sugar
2 g
48 g
Allergen Content
Based on your allergy profile, please note the following possible allergens:
Eggs
Milk
Wheat
Ingredients
Choose ‘+’ button to add missing ingredients to your grocery list
0
Steps
Read instructions and get ready to cook
Preheat Oven
Preheat the oven to 350°F (175°C).
Prepare cranberry layer
In a saucepan, combine the cranberries, 1 cup of sugar, and 1/4 cup of water. Cook over medium heat, stirring occasionally, until the cranberries burst and the mixture thickens, about 10 minutes.
Pour cranberry mixture into pan
Melt 1/4 cup of butter in a 9-inch round cake pan. Pour the cranberry mixture over the melted butter.
Mix dry ingredients
In a bowl, whisk together the flour, baking powder, and salt.
Cream butter and sugar
In another bowl, beat the remaining 1/4 cup of butter and 1 cup of sugar until light and fluffy.
Add eggs and vanilla
Beat in the eggs one at a time, then stir in the vanilla extract.
Alternate adding dry ingredients and milk
Gradually add the dry ingredients to the butter mixture, alternating with the milk, until just combined.
Pour batter over cranberries
Pour the batter evenly over the cranberry mixture in the cake pan.
Bake the cake
Bake for 35-40 minutes, or until a toothpick inserted into the center of the cake comes out clean.
Cool and invert
Let the cake cool in the pan for 10 minutes. Run a knife around the edge of the pan, then invert the cake onto a serving plate.
Serve
Serve the cake warm or at room temperature.
Ratings
0
Comments (0)
No ratings or reviews yet.